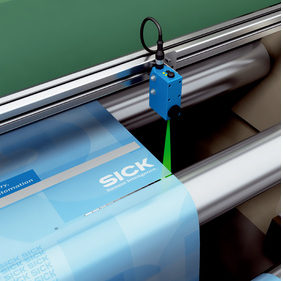
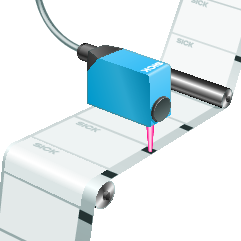
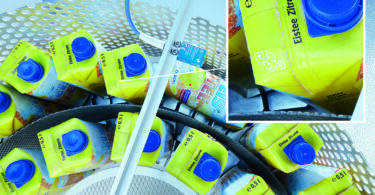
 Registration marks—also called eyemarks or contrast marks—are found on nearly every label we come across in consumer goods on a daily basis, from a candy bar label to a shampoo bottle label. These marks are cleverly disguised in the design of the packaging, but during the manufacturing process, they are front and center. Registration marks are the cue to the production machine to cut, print, count, or position each label or bottle.
For example, in most label manufacturing processes that we come across, the labels are created on a web. The webs of labels are printed one after another, and then downstream they are cut into individual labels. The cutting machines need to know where to cut each of the labels, and the registration mark is used to indicate the precise location so a single complete, cleanly cut label can be applied on each individual product.
Problems arise when the registration mark is printed in a color that confuses the sensor being used to detect the mark, leading to false trips and improperly cut labels. While it might seem like black and white registration marks provide the best contrast, that may not actually be the case. Keep reading to learn why and how to design the best registration marks that will not trip a contrast sensor.
How Contrast and Color Sensors “See” Registration Marks
First, it is important to understand how color and contrast sensors work. Both contrast sensors and color sensors can be used to detect registration marks very precisely and tell the machine when to perform its task to ensure efficient and accurate production.
Both technologies look for color changes, but there are important differences. Contrast sensors set a switching threshold, while color sensors set a switching window.
A color sensor will only react to the taught-in color. So, for example, when taught in for the color red, only the color red will trigger the sensor.
 On the other hand, a contrast sensor converts every color it sees to a grayscale value. When a switching threshold is taught in dark switching mode, anything darker than switching threshold will trigger the sensor. In the same way, when taught in light switching mode, anything lighter than the switching threshold will trigger the sensor. (Quick trick: Find a black and white copy machine and copy your label graphic – you can see it how the contrast sensor will see it!)
For a contrast sensor, teaching-in the sensor for extremes, like black and white, can be problematic because the sensor will place its switching output exactly half way in between the color spectrum, so you run the risk of false trips if there are any colors brighter than green on the graphic.
Best Practices for Designing the Registration Mark
The best way to design a registration mark is to take the label graphic colors into consideration. This will result in a label that is not only aesthetically pleasing, but also easily distinguishable by the sensor on the label cutting machine.
First, look at the area where your registration mark needs to be located. In the direction in which the labels move, what color does not exist in that line on the pattern? The sensor can be taught-in between the color of the registration mark and the next closest color to it on the color scale.
For example, if I knew that the registration mark (on example label shown below) needed to be placed directly in the center of the label, I would look across the label and realize that I should NOT pick blue or gray. If blue is chosen, the sensor will see blue and falsely trip over the S and I in SICK, or if gray is used, the sensor will trip over the Int in Intelligence. White is also not an option, because the background is white.
In this situation, there are four possible solutions:
- Choose a whole new color for the registration mark – anything other than blue, gray, or white would be fine.
- Choose a darker shade of gray (see example below).

- Use the same blue or gray, but move the registration mark to another location so the sensor will not be tripped by the other print (see example below).

- Consider using SICK’s PS30 pattern sensor which does not require the use of registration marks and instead simply registers from areas on the label pattern.
![]()
Download the application note to learn more about the PS30 pattern sensor and how it's changing how labels are being designed.


